I started planning for the baby’s room many months in advance. It was still fairly early before we knew that the pregnancy was moving smoothly so I didn’t want to get to crazy involved but it was a fun outlet to help me get excited for what we thought was our “3rd time was a charm” sort of pregnancy. As a designer, I of course went as far as making an Indesign document that I could share with my architect husband for his buyin. He thought I was crazy but it helped sort out my favorite things and to get it captured all in 1 place. It was used as a concept as we truly did buy some of the items while I shopped around for better deals on other items.
This is a snapshot of my early concepts:
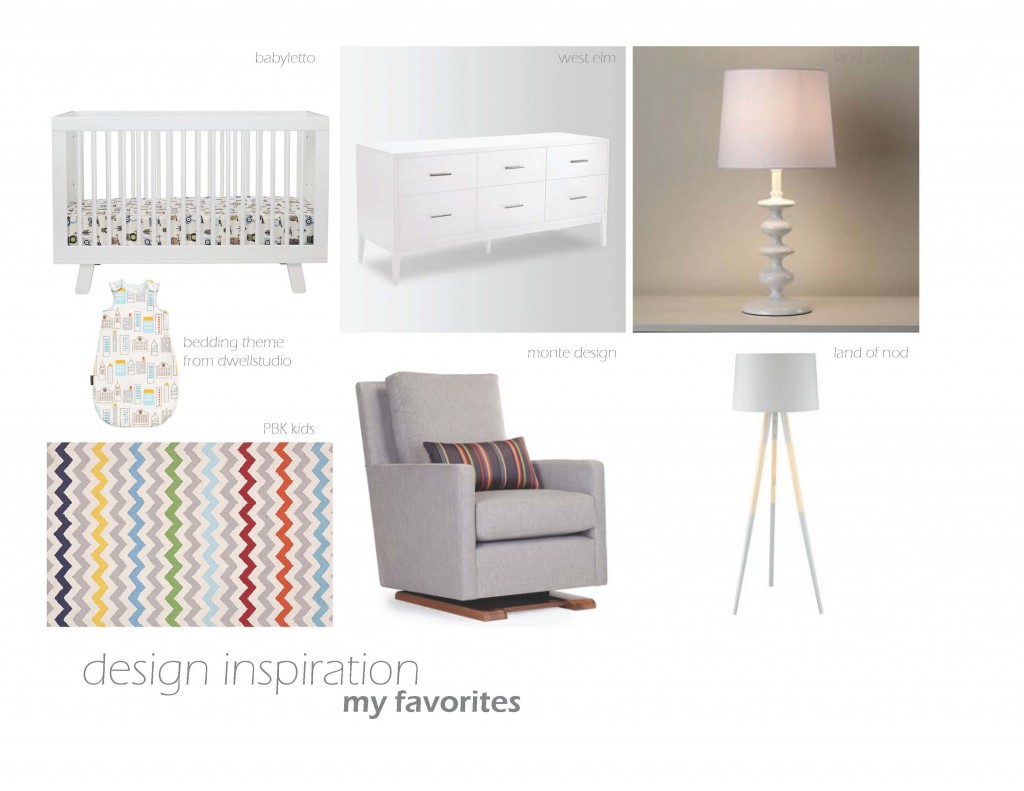
We were going with a gender neutral, mod city theme. Husband and I are both people that love a palette of neutrals so we started with a neutral base of color and materials and built on with color and art to make the room playful. We did not want a themed room that we will have to redo every few years. What is great when you start with neutrals on the walls and floor, you can add and change without much cost or work.
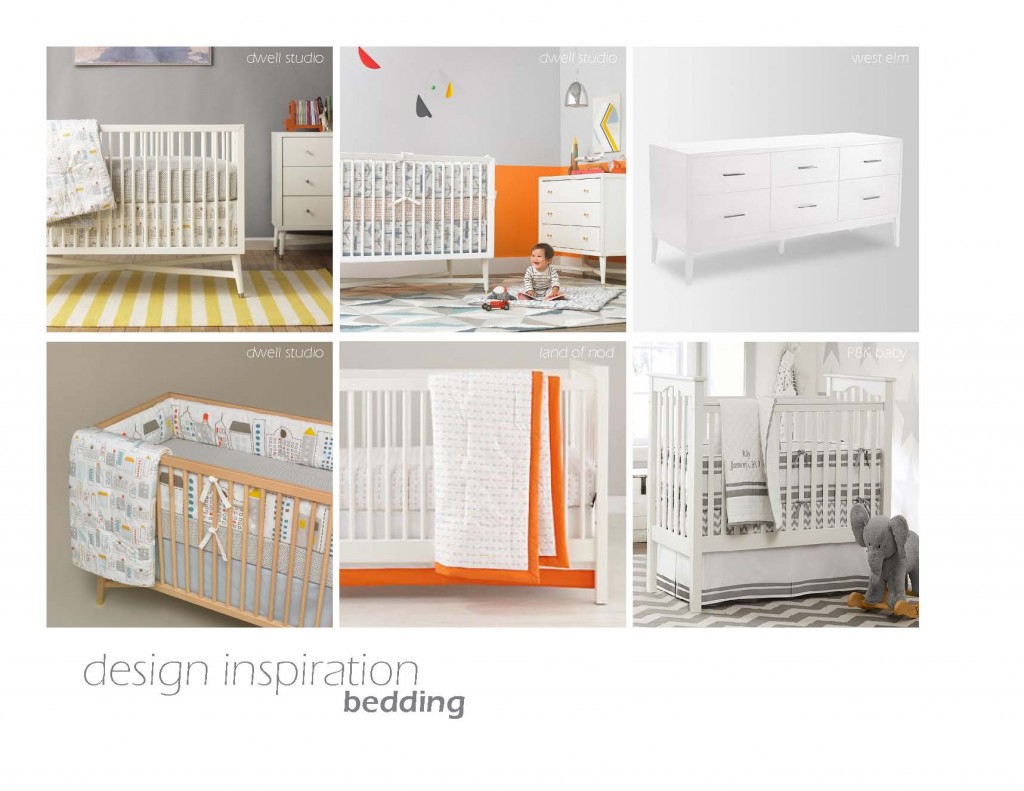
As designers, we love cities and traveling so the Dwell Studio City/Skyline theme was the perfect choice. Although I did explore various other bedding sets shown below:
As designers, I think most people looked at us as a couple that would put together some CRAZY over the top baby’s room, however we truly are simple in our own home design and thought this was the right step for Baby’s room. Plus with our love for art, we wanted to have an art wall in the room that would be changeable. By using framed art – we can easily add more frames or change them out for new prints when its time. Our house is simple, we used only 3 paints throughout (light grey, medium grey, and a white for the millwork, trim and ceilings) so its the perfect backdrop for all the art created by my husband.
Now to share the completed room…..
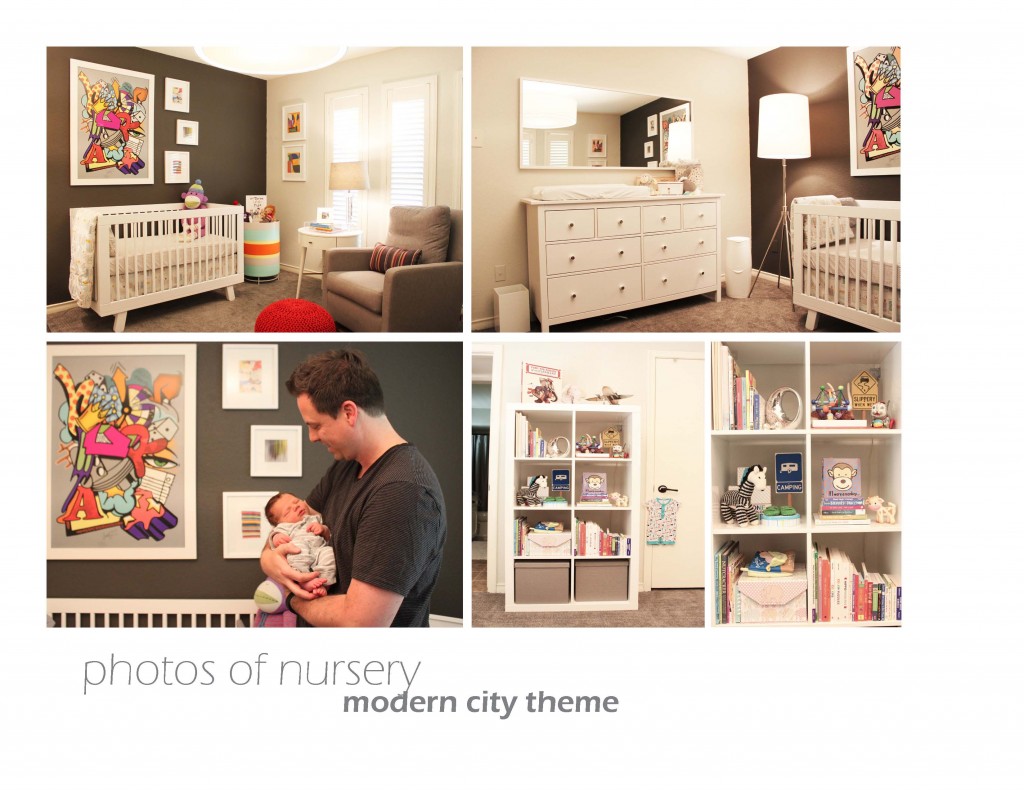
You can see that we started with our neutral base for the room which included 3 light grey walls that were already this color and then we painted the wall behind the crib the dark grey color. This color was perfect to allow the white framed art and crib to really pop off of it! Our ceiling is a white color with a large pendant that were both existing in the room prior to the conversion to a nursery. Back in May, we had all bedrooms and the office recarpeted to a carpet design and grey color we loved by Totally Carpet (a commercial carpet line). From my initial concepts, you can see we went with the original crib and chair choices. All of the dressers I initially liked were too expensive for our budget, so we found a white dresser at Ikea on sale and then changed out the pulls to make it look more modern and added a white framed horizontal mirror that is the same length as the dresser. The dresser works as both the changing area and is filled with bins in each drawer to keep everything organized. The side table, table lamp and bookcase were all items that we already had. To add a bit more color to the room, we purchased a side table made of colored trays by the crib along with the poppy red ottoman. We wanted more light by the changing table so we found a floor lamp that has adjustable light levels and the tripod base is adjustable for the height.
I put together a budget for the room along with categories for everything we were going to need for the baby to keep us on check. I love to shop for a deal so once I found an item I liked, I shopped the internet to find out which store or website was selling it at the best price. For us, the room design was to be simple and not break the bank. We can’t wait for our little guy to fully know its his room so we can share all the wonderful books we have received from so many friends and family members. And I know Dad is going to have Lincoln painting and coloring at a young age, so I can’t wait to see what he/they create together that I can possibly add to the art wall!
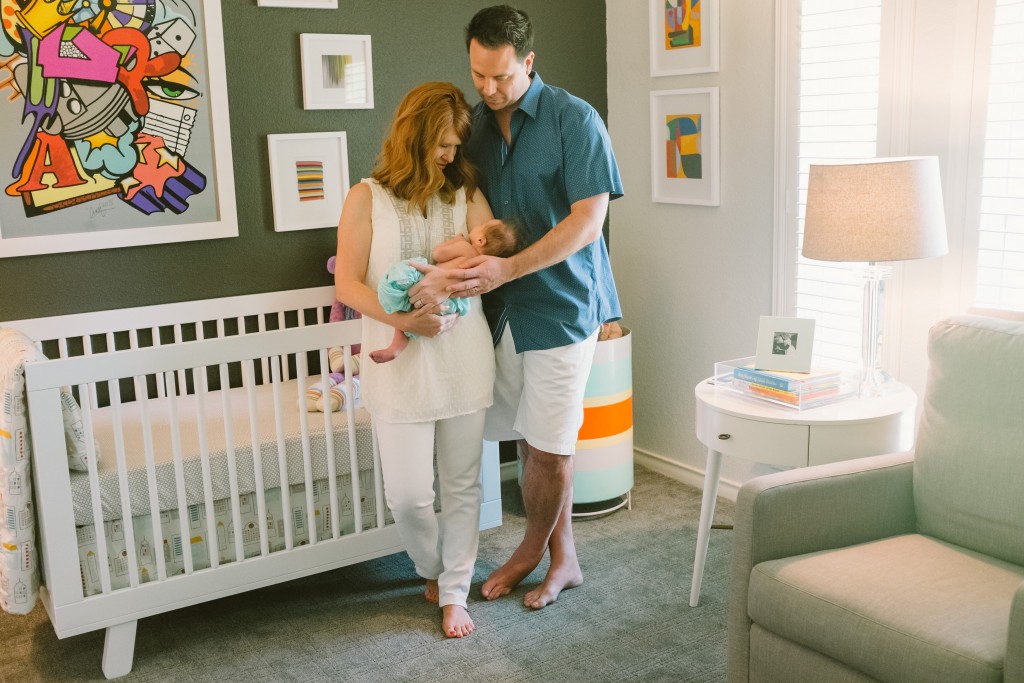

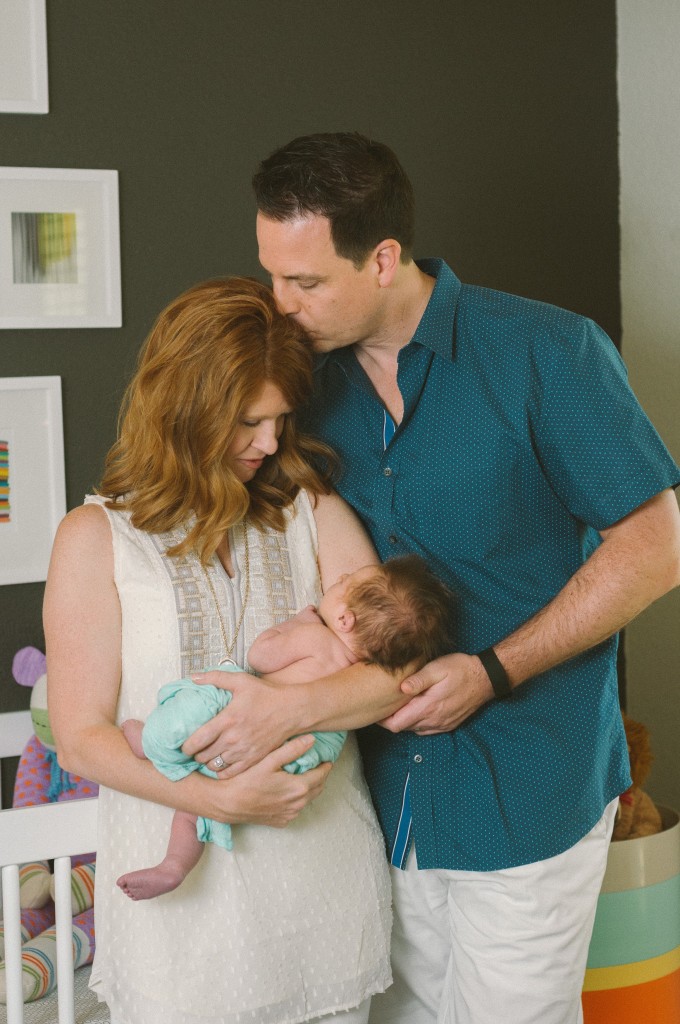
Photography Credit: Parkbench Photography